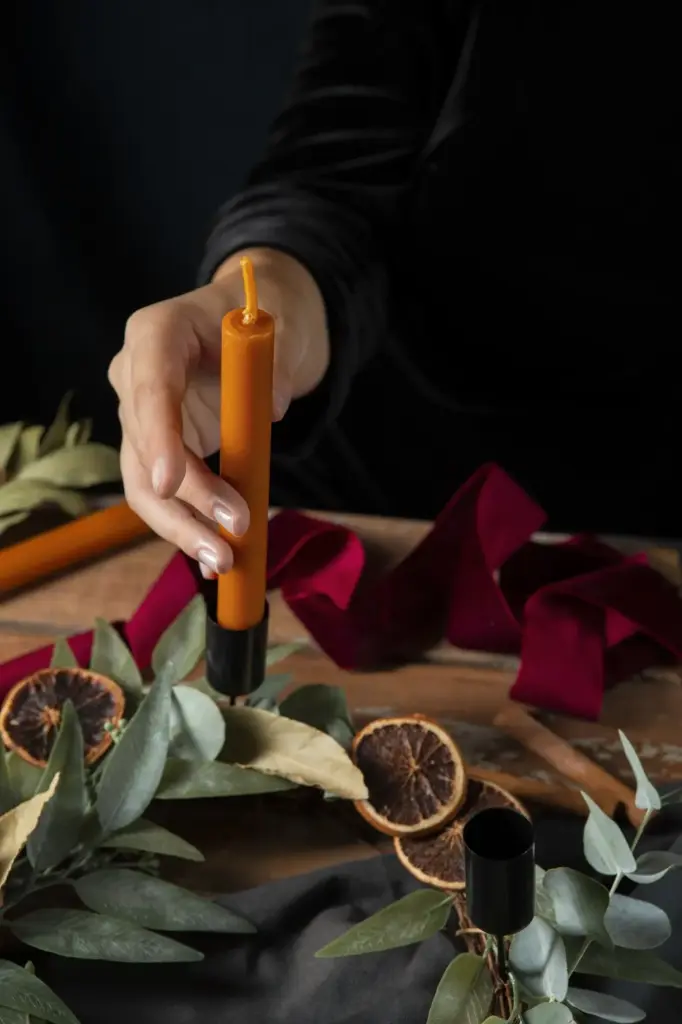
Shine Safely: Caring for Handmade Jar and Taper Candles

Today we explore candle care and safe burning practices for handmade jars and tapers, sharing practical steps that protect your home, extend burn time, and reveal a cleaner, brighter flame. Expect easy routines, honest stories, and pro tips you can apply immediately, whether you pour your own creations or cherish gifts from friends. Together we will master trimming, positioning, melt pools, holders, and extinguishing, so each lighting feels calm, beautiful, and confidently safe.

Wick Wisdom: Trim, Test, and Tame the Flame

Everything starts with the wick. A small adjustment before lighting decides whether your candle burns evenly or struggles with smoke and flare-ups. By learning how to trim, observe flame behavior, and correct issues early, you prevent tunneling, reduce soot, and preserve fragrance character. These gentle rituals suit both jars and elegant tapers, helping your craft or collection feel more dependable. They also cultivate patience, inviting you to slow down, breathe, and enjoy the glow without worry.

The 1/4-Inch Rule

Before every lighting, trim cotton wicks to about 1/4 inch, roughly 6–7 millimeters, and let the wax fully cool first. This modest length balances capillary action, stabilizes flame height, and reduces mushrooming. Wooden wicks benefit too, usually trimmed to a neat edge so charred bits release easily. A sharp wick trimmer or small scissors keeps debris from dropping into the wax, preserving a cleaner pool and brighter fragrance throw while minimizing smoke and residue on nearby surfaces.

Mushrooming and Soot

When a wick mushrooms, carbon builds at the tip, encouraging flicker, smoke, and wasted wax. Correct it by gently snipping the bulb after extinguishing and cooling. Persistent mushrooming can signal oversized wicks, overly heavy dyes, or high fragrance loads. If the flame smokes or leaves dark halos on jars, examine drafts and wick length. Often, a slightly shorter trim paired with a calmer environment yields a controlled, calm flame and far cleaner, more satisfying illumination.

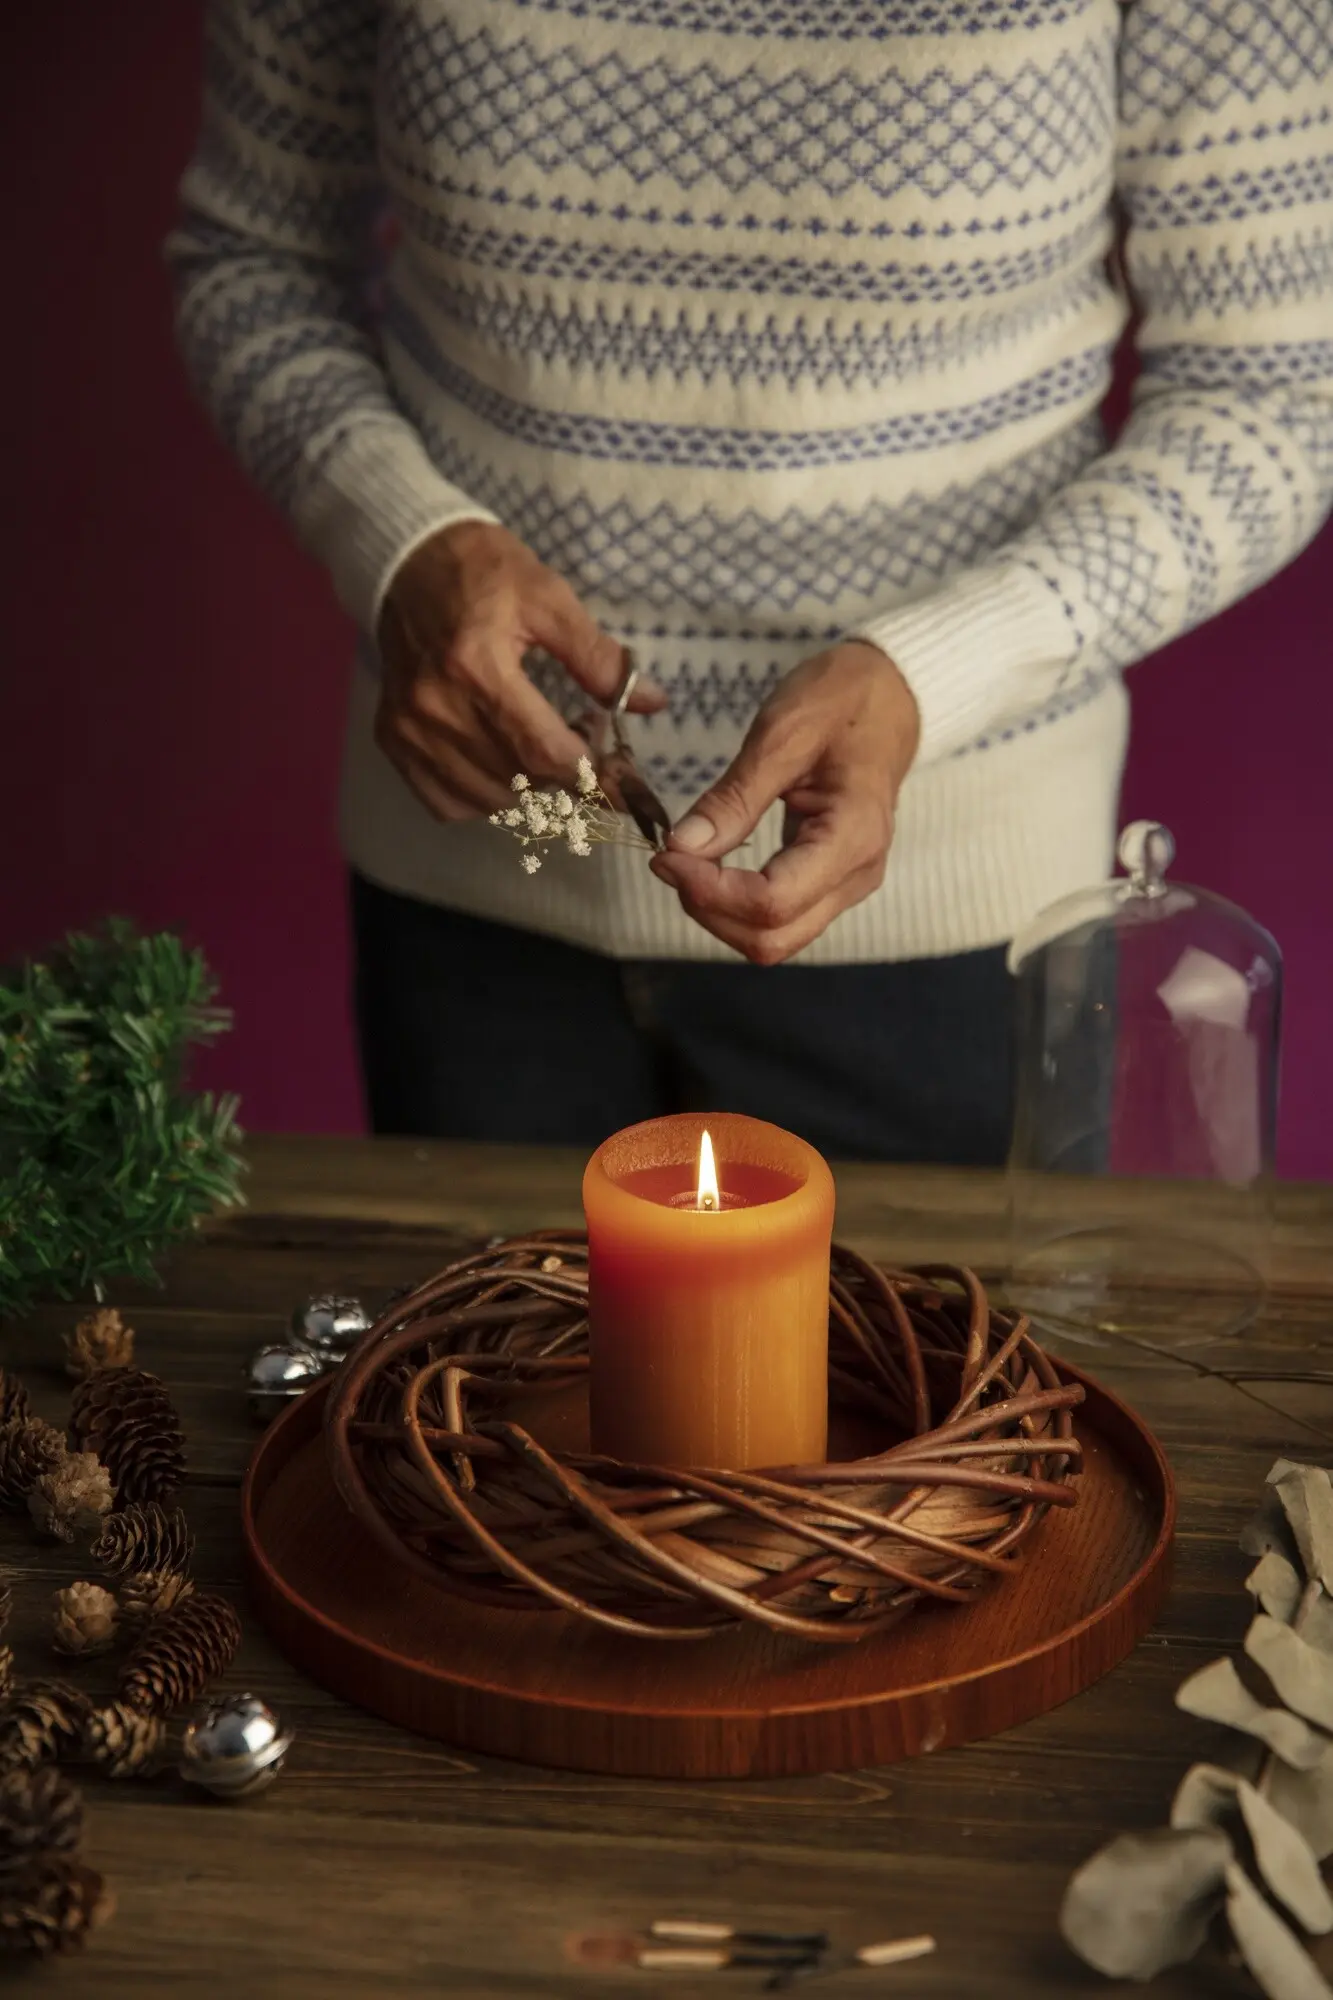
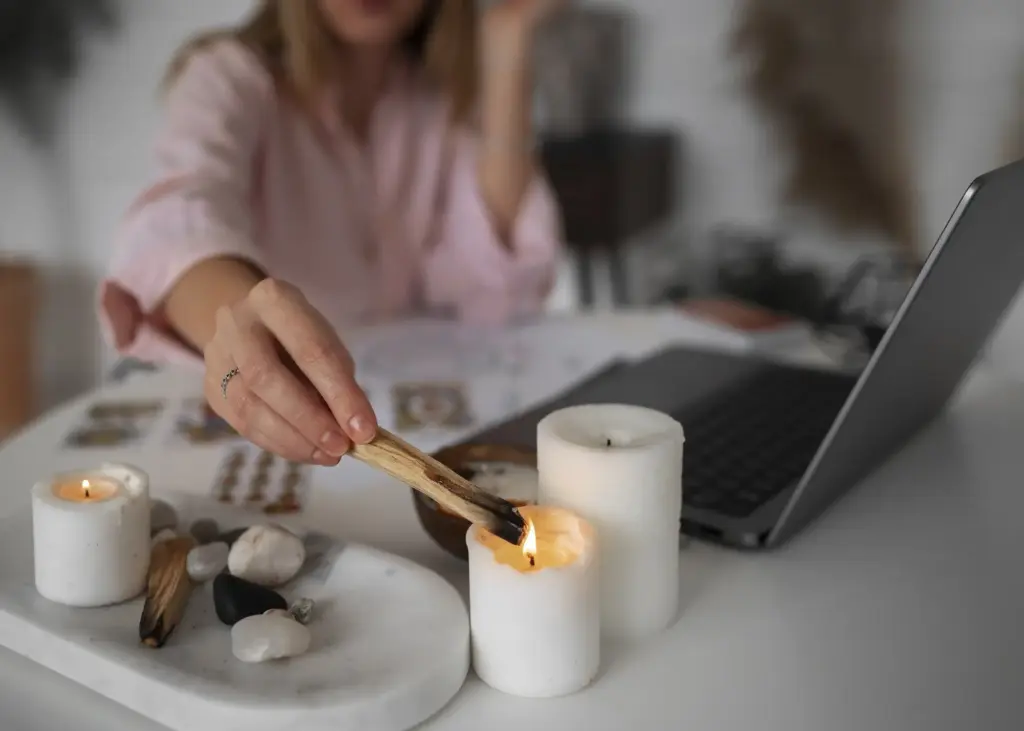
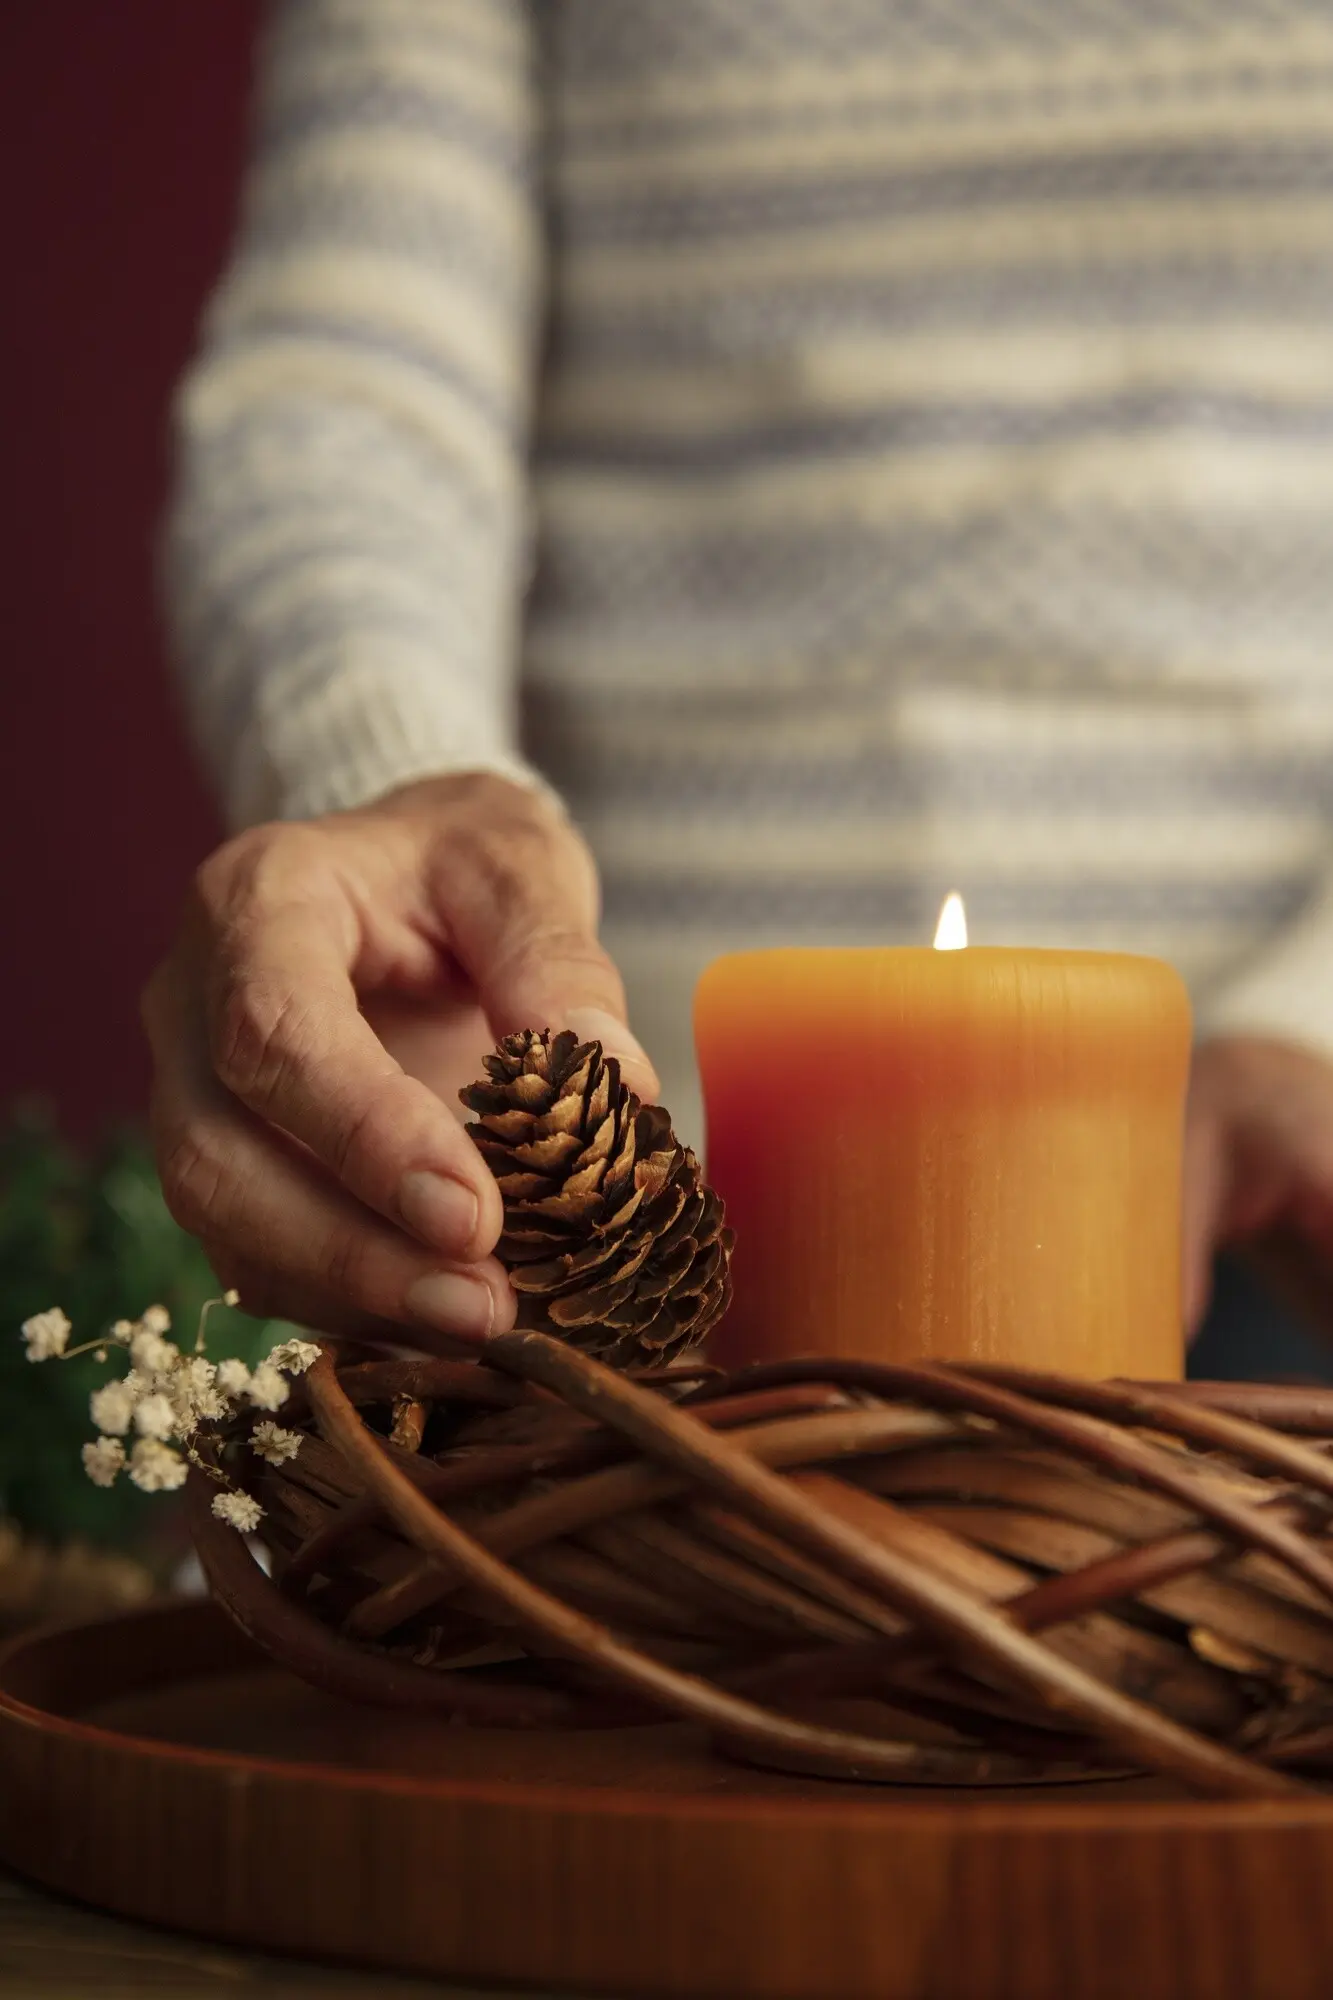
Drafts and Dancing Flames

A dancing flame looks charming until it leans, smokes, and overheats one side of the candle. Keep jars and tapers away from open windows, vents, fans, and high-traffic doorways. Even subtle airflow can tilt a taper, increasing drip and shortening life. If the flame flickers, relocate the candle to a steadier spot and re-trim once cool. Watch the flame for a minute; a steady teardrop shape signals good airflow, balanced fuel, and safer, cleaner burning.

Melt Pool Mastery for Jars

Jar candles depend on a complete melt pool, the even layer of liquid wax reaching edge to edge. That first session teaches your candle its memory, preventing stubborn walls and the dreaded tunnel. Patience pays off: let the top liquefy thoroughly without exceeding recommended burn times. Balance matters, because wax, wick, fragrance, and container all negotiate heat together. With observation and gentle timing, you create smoother sides, fuller fragrance release, and a longer-lasting, cleaner-burning experience.

First Burn Strategy

On the first burn, allow the wax to melt across the entire surface, usually one hour per inch of jar diameter, while staying within the maker’s maximum time. This establishes an even memory, discouraging tunneling and lopsided walls. If the melt lags at the edges, shield the candle from drafts and give it a little more time, but never leave it unattended. That investment returns with every relight, producing elegant, even sides and consistent fragrance from top to bottom.

Max Burn Times and Heat

Resist marathon sessions. Most jars thrive in two to four hour windows, depending on diameter and wick type. Overlong burns risk overheating containers and deepening the melt pool beyond safe design. Always place jars on heat-resistant, level surfaces, away from books, curtains, and delicate furniture. If the flame grows unusually tall, extinguish, cool fully, and re-trim. This rhythm protects vessel integrity, preserves fragrance composition, and guards your space from excess heat, soot, and potential glass stress under repeated thermal cycles.

Debris-Free Wax Pools

A clean wax pool is essential for a clean burn. Remove spent matches, wick trimmings, petals, or crystals before lighting, because each tiny piece can act like a secondary wick, feeding smoke and uneven heat. If dye swirl or botanicals are part of the design, keep them away from the wick while burning. When extinguished and cooled, gently lift any residue from the surface. Over time, this small habit prevents hot spots, protects fragrance clarity, and extends the jar’s graceful life.

Taper Etiquette: Holders, Drips, and Straight Lines

Tapers bring ceremony to dinner tables and quiet corners, but they demand proper support. A snug holder, steady placement, and thoughtful trimming keep wax from racing down the sides. Vertical alignment matters, guiding heat upward rather than sideways. With calm air, correct height, and attentive extinguishing, you’ll savor slender silhouettes that burn evenly and elegantly. These graceful routines respect both classic beeswax tapers and modern blends, transforming quick lightings into intentional rituals that feel grounded, safe, and beautifully composed.

Container Confidence: Handmade Jars Under Pressure

Handmade jars are beautiful, but they face heat stress each time you light them. Thoughtful placement, respectful burn limits, and early replacement when glass shows hairline flaws preserve safety and aesthetics. Avoid sudden temperature swings, like setting a cold jar directly near strong heat. Give multi-wick designs space to breathe and monitor rising temperatures around the rim. These mindful choices protect surfaces, hands, and hearts, ensuring your crafted vessels remain companions to calm evenings rather than sources of surprise.

Heat and Shock

Place jars on heat-resistant coasters and never on cold stone straight from a warm room, or vice versa. Rapid temperature shifts create stress that can weaken containers. Keep flames away from tight corners and bookshelves where heat concentrates. If the jar feels unusually hot to the touch, extinguish and allow a complete cool-down. For porous or vintage containers, exercise extra caution since they may not be rated for repeated cycles. Respecting gradual temperature changes dramatically improves safety and preserves your artisan vessel’s charm.

The Last Half Inch

Retire jar candles when roughly half an inch, about 12 millimeters, of wax remains. The base can overheat as liquid wax thins and heat reflects downward. Stopping early saves surfaces and prevents stress on adhesive, wick tab, and glass. Many makers note this practice as a core instruction on labels. Gather remnants for wax warmers or future projects instead. This gentle boundary turns a risky finale into a graceful goodbye, honoring the candle’s journey while keeping your space confidently protected and serene.
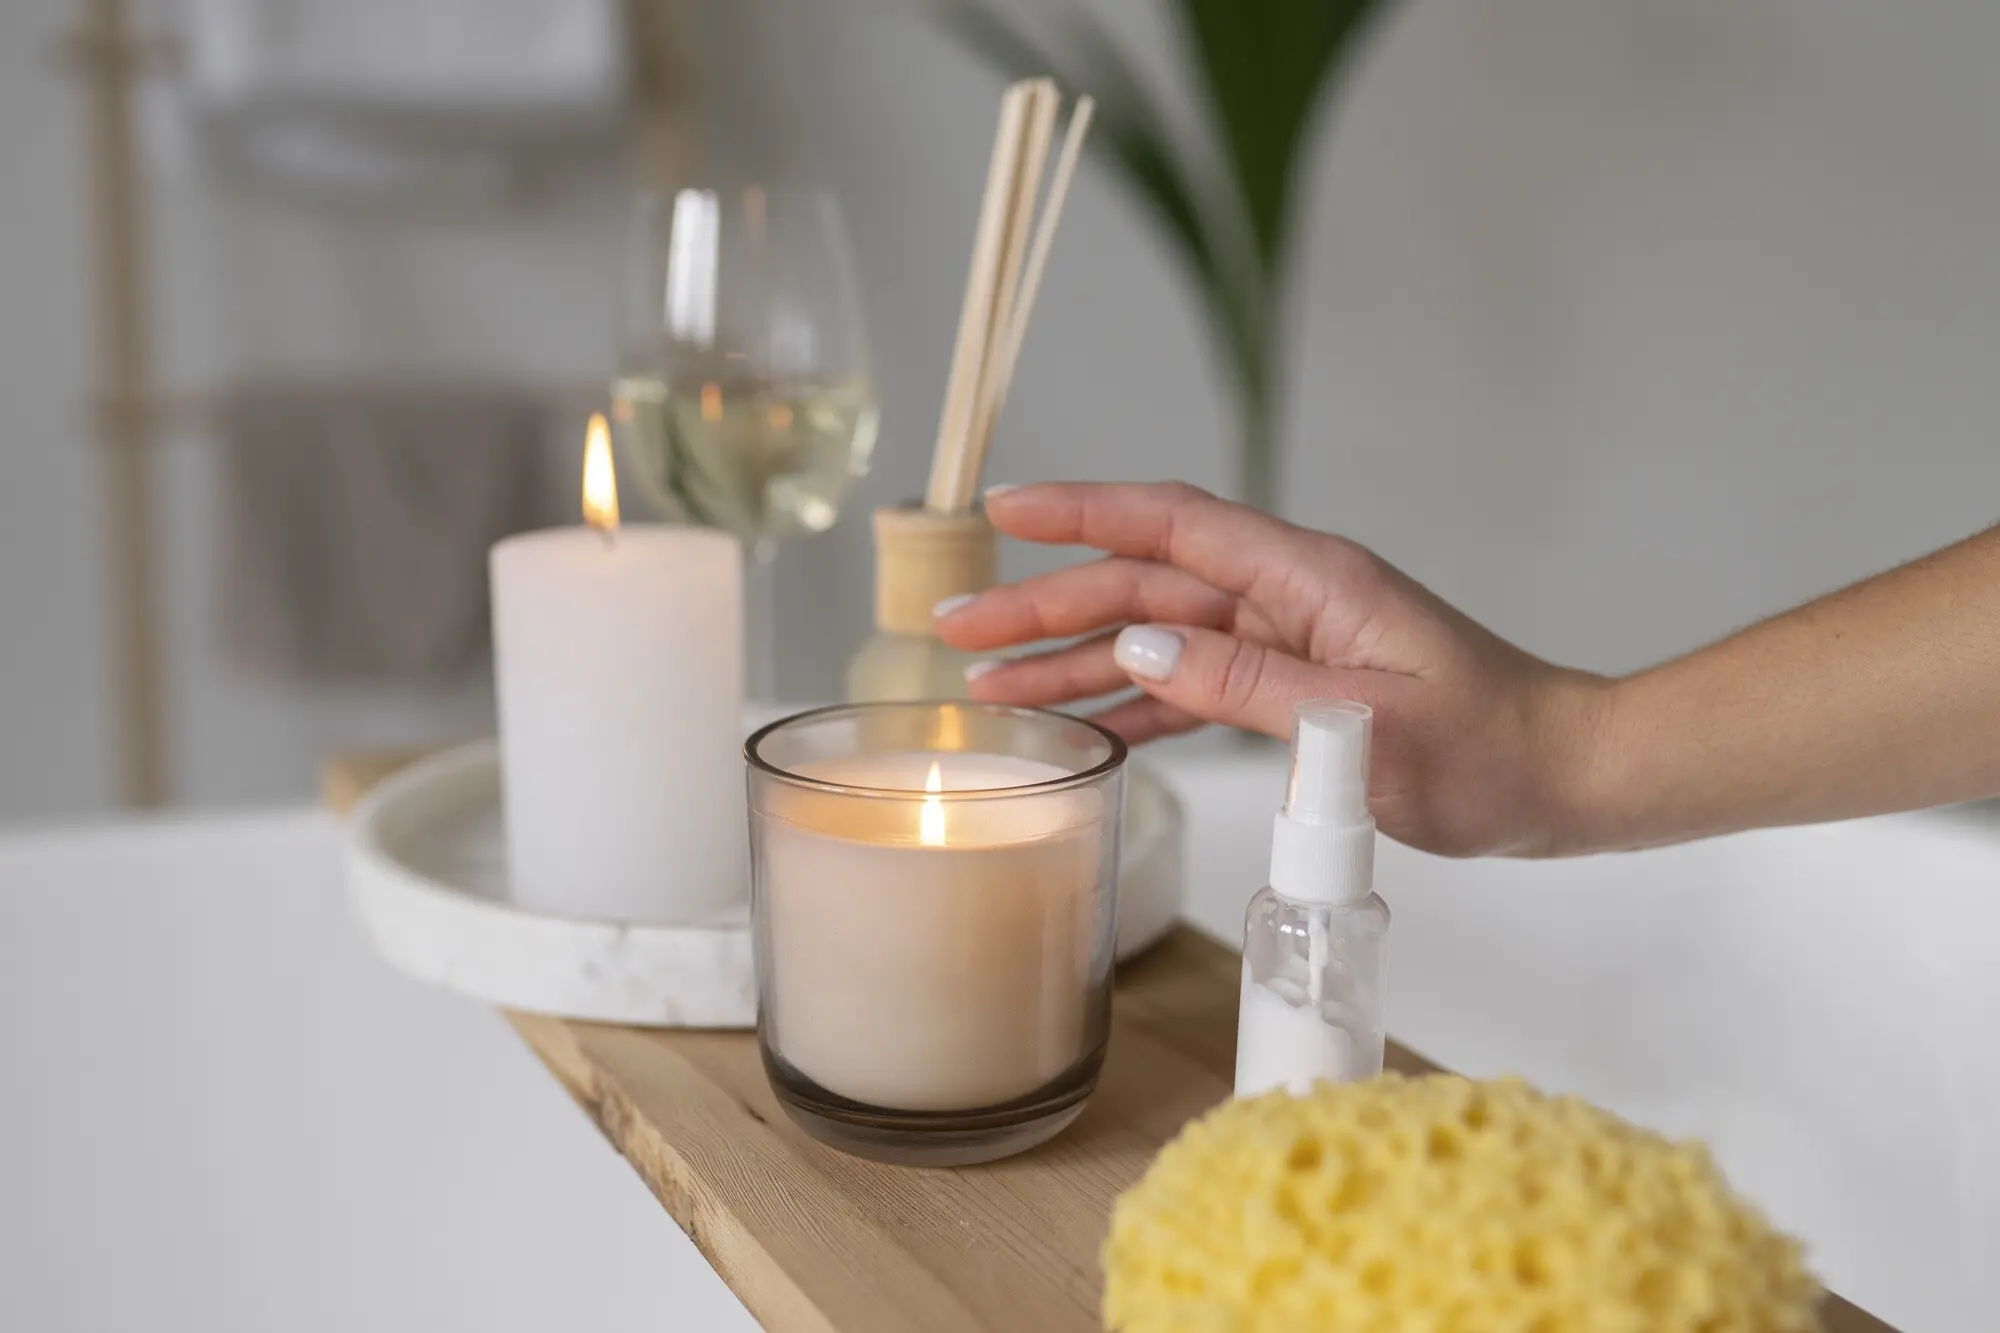
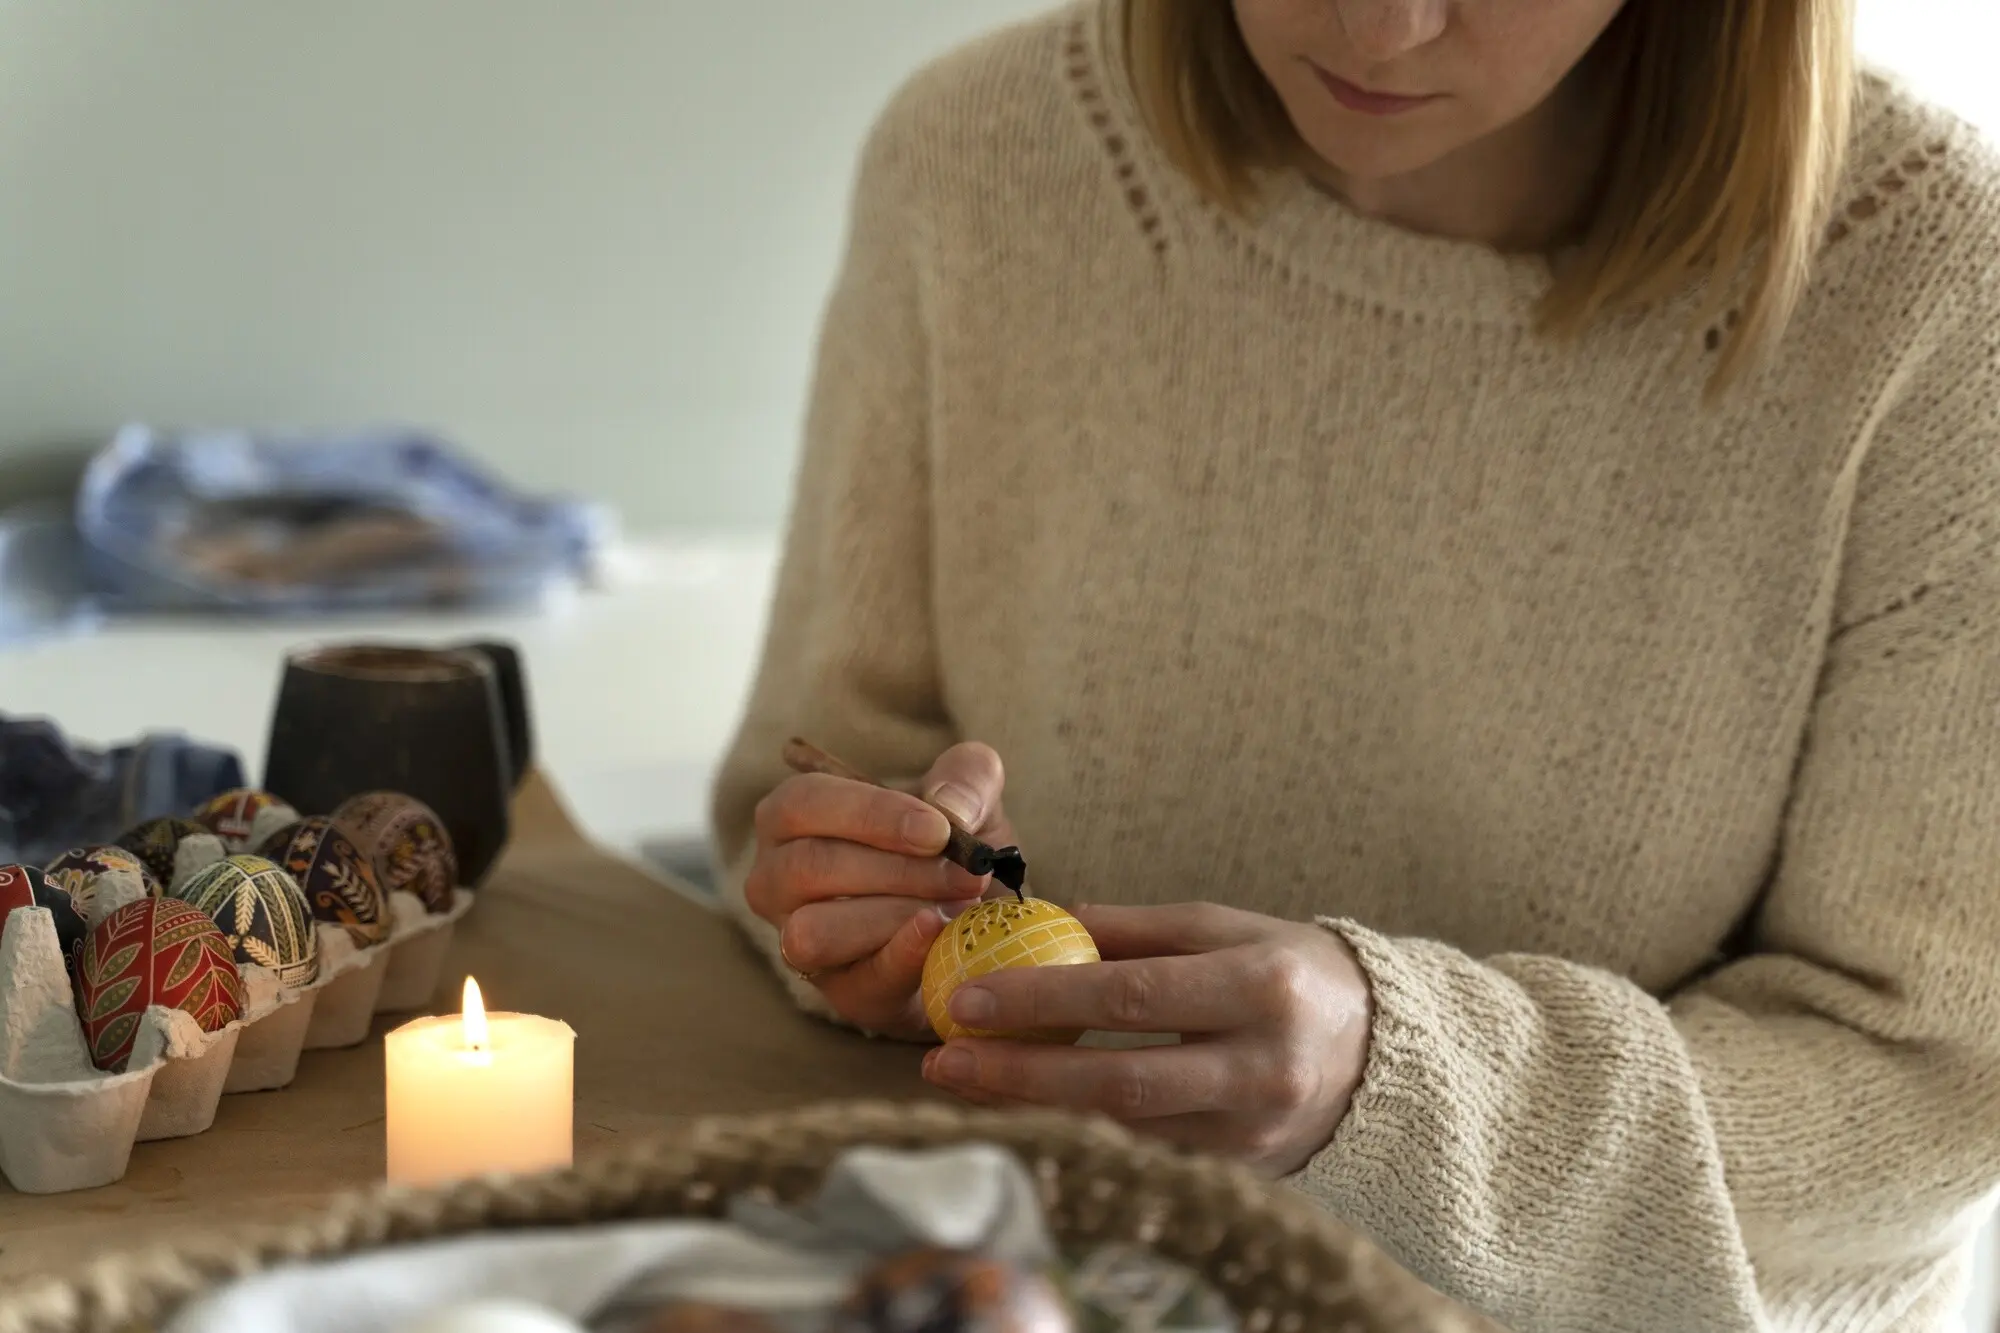
Surface and Spacing

Candles deserve generous breathing room. Leave at least three feet of clearance from curtains, stacked books, and low-hanging foliage. Space multiple jar candles several inches apart so their heat signatures do not amplify each other. Use trays that are stable, flat, and heat-safe, preventing wobble and spreading warmth more evenly. If you burn a multi-wick jar, confirm all flames stay similar in height; extinguish if one races ahead. Protective spacing preserves glass, fragrance balance, and the quiet mood you carefully created.

Scent, Smoke, and Air Quality

A serene glow should pair with clear air. Proper ventilation refreshes the room while avoiding gusts that disturb the flame. Fragrance load, wax type, and dye intensity each influence smoke, strength, and comfort. If headaches arise, shorten sessions, trim better, or change locations. Choose quality wicks and balanced formulas from makers you trust. By tuning airflow, ingredients, and duration, you enjoy beautiful scent diffusion without haze, keeping evenings luminous, breathable, and pleasantly scented rather than overwhelming or fatiguing.

Care Beyond the Flame: Storage, Travel, and Labels

Sunlight can bleach colors and thin fragrances, while heat softens pillars and warps tapers. Keep candles cool and shaded, ideally in breathable packaging that avoids trapping moisture. Separate strong scents so they do not mingle over months. Dust off jars before relighting, wipe rims, and re-center wicks if needed. These tiny habits protect appearance, aroma, and structure. When gifting, include a handwritten card with storage tips; recipients feel cared for, and your carefully chosen candle enjoys a longer, more beautiful life.
Makers include critical guidance: distance from flammables, trimming advice, maximum burn times, and when to retire a jar. Review icons and instructions before the first light, then keep them handy for quick refreshers. If your candle includes wooden wicks or multi-wick layouts, follow those specific notes closely. Labels also remind you never to leave a burning candle unattended or within reach of children and pets. A minute spent reading unlocks safer enjoyment, clearer expectations, and a consistently pleasing glow each evening.
When traveling with candles, pack jars upright in padded compartments and shield lids with soft cloth. Keep tapers straight in sturdy tubes or rolled within thick paper, avoiding pressure points. Never leave candles in hot vehicles, where wax and adhesives can fail. On arrival, let jars acclimate to room temperature before lighting to prevent thermal shock. Share your road-tested tricks with us, from recycled boxes to creative padding. Your insights help fellow enthusiasts keep their favorites safe, polished, and ready to brighten new spaces.
Veltodexofexo
Privacy Overview

This website uses cookies so that we can provide you with the best user experience possible. Cookie information is stored in your browser and performs functions such as recognising you when you return to our website and helping our team to understand which sections of the website you find most interesting and useful.